


As seen on ITV's Love Your Garden with Alan Titchmarsh!

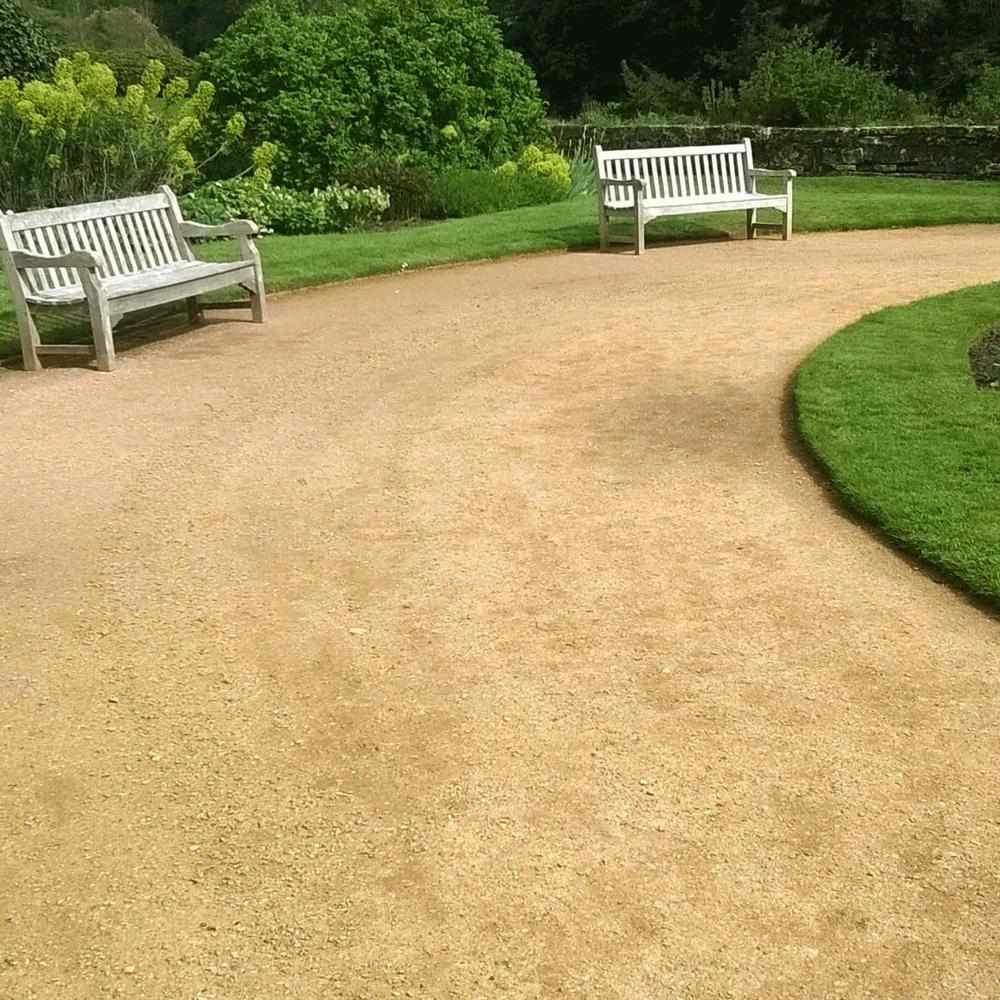
What is Self Binding Gravel?
Self Binding Gravel is a blend of either 10mm or 8mm sized gravel particles, gravel dust, sand and clay that binds firmly when compacted.

Not only does it look neat and attractive but it's also easy to maintain - just requiring the odd bit of weeding. This makes it perfect for car parks, paths, golf courses, cycle paths, bridleways and larger walkways such as at stately homes and heritage properties.
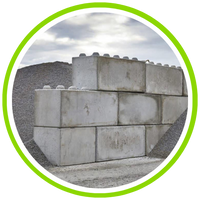
Here at Dandy's we currently stock Golden Hoggin 10mm available in either standard 750kg Bulk Bags or 1 tonne/1000kgs Jumbo Bags.
How to lay a Self Binding Gravel path...

CHECK LIST
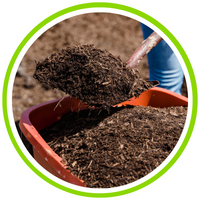
- Dandy's Crusherrun Hardcore MOT Type 1.
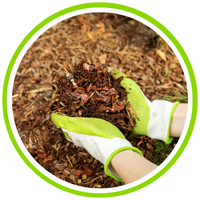
- Dandy's Golden Hoggin 10mm Self Binding Gravel.
- Digging Spade.
- Wheelbarrow.
- Vibrating roller or whacker plate. Alternatively use a plank of wood and sledge hammer.
- Hose pipe, watering can or sprinkler.
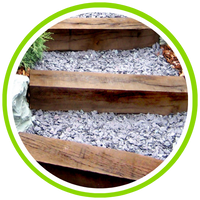
- Edging stones, sleepers or metal edging.


LET'S GO!
- Once you have decided where you want your path to run, mark out the edges with a spade edge, some chalk or sand.
- Dig out the area to approximately 15 to 20cm (6 to 8inches) deep. This allows room for at least 10cm (4 inches) of Crusherrun and 5 to 10cm (2 to 4 inches) of Self Binding Gravel. This is just a basic guide though, you can change these to suit your needs but we advise these as a minimum. Ideally approximately 50mm works best for pathways, whilst 125-150mm depth will give you a compacted depth of 100mm for driveways.
- Once dug out the path can then be edged using sleepers, edging stones or edging sheets (metal that can be bent into place - so best if you are using on a curved path!).
- Along the bottom of the path, lay our your layer of Crusherrun - this is so that the water can drain away whilst also creating a firm base.
- On top of the crusherrun hardcore your Self Binding Gravel can be added. Make sure that about 2 to 3cm (1 inches) is above ground level. This will enable it to be compacted down with the vibrating roller but keep the final level where you want it. If you have high sides, such as with sleepers, then simply allow an extra inch to allow for compaction.

- Use the vibrating roller or whacker plate to level the Hoggin to the height you desire, sprinkling a tiny amount of water when you get to your desired depth - you can also use a plank of wood placed across the path and hit with a sledge hammer. Bever wet the self-binding material directly.


- We advise making sure there is an ever so slight camber so that water will drain to the sides and away, instead of pooling in the middle of your new path during heavy rain.
- Voila! Stand back admire your work...


Terms of use:
Dandy's does not recommend this material be used during the winter. Hoggin can only be laid in dry or very light rain and if the rain persistent or heavy, material may not bind. We also do not recommend laying in cold or freezing conditions which could lead to movement and shrinkage when the ground becomes warmer. Therefore, Dandy's will not accept any responsibility if this material fails when laid during winter months.
Self-binding materials are not suitable for use on any gradient greater than around 1:12 to 1.15, although the movement experienced with self-binding gravel is considerably less than that found with loose aggregates. Should a gradient greater than 1.15 be present then a series of staggered retaining boards can be applied to retain the material.
Although Hoggin is a naturally hard wearing material it will lacerate over time, this is easily remedied by periodic rolling and sweeping.
This is just a guide and we advise that you use a trained, professional landscaper to lay your Hoggin.